Many homeowners know when their shower valve is failing—but few know what happens during the actual replacement process. By understanding the steps, you’ll feel more confident about hiring a professional or deciding if it’s something you want to attempt yourself. For full service, check our Expert Shower Valve Replacement in Studio City, CA.
Step 1: Diagnosis and planning
The plumber will:
- Discuss your symptoms (temperature changes, leaks, pressure issues)
- Inspect the valve and surrounding piping
- Decide if repair or replacement is best
- Recommend the correct valve type
Step 2: Shutoff and preparation
- Turn off water supply
- Drain remaining water from lines
- Protect surrounding bathroom surfaces
- Prepare tools and parts
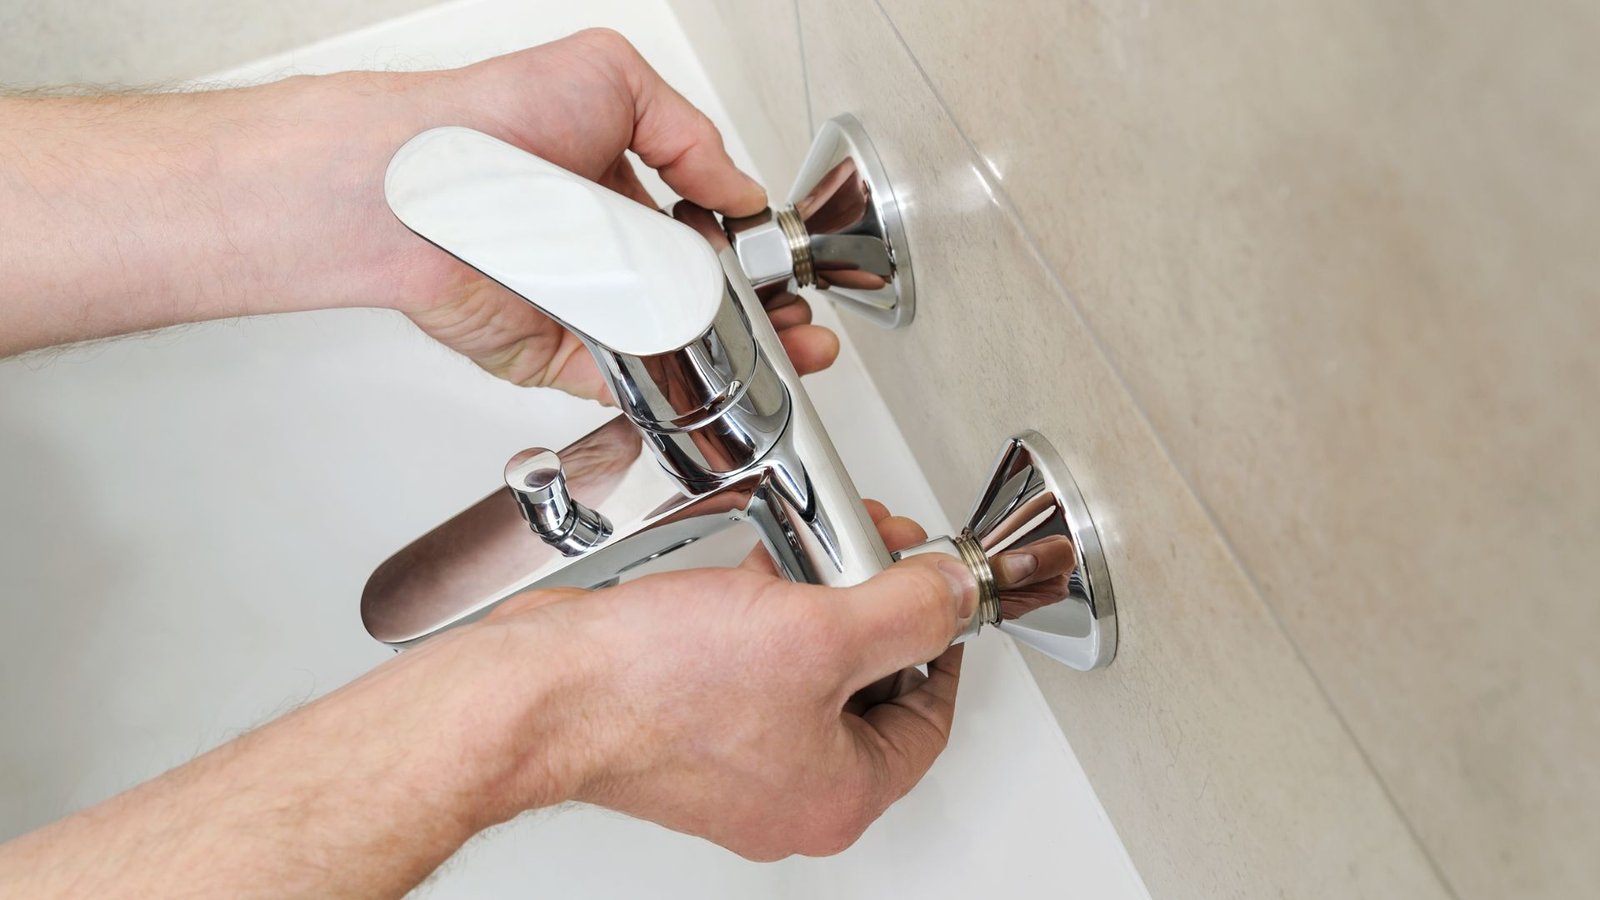
Step 3: Removing the old valve
- Remove the handle and trim plate
- Access the valve through the wall if needed
- Disconnect hot and cold supply lines
- Carefully extract the old valve
- Clean the cavity for new installation
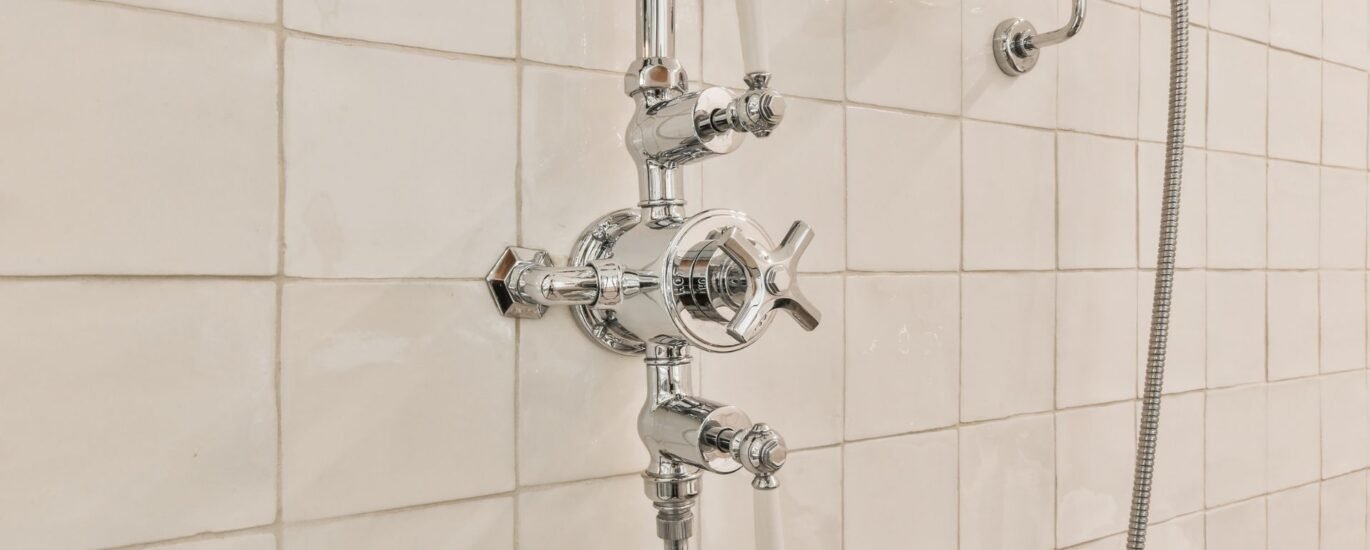
Step 4: Installing the new valve
- Mount the new valve securely
- Reconnect hot and cold supplies
- Seal joints with proper fittings
- Align the valve for proper function
- Ensure diverters or extra outlets are ready
Step 5: Testing and calibration
- Slowly restore water pressure
- Check every connection for leaks
- Test temperature control and flow
- Adjust as needed
Step 6: Cleanup and finishing touches
- Remove old parts and debris
- Discuss wall repair if tile or drywall was cut
- Leave the shower ready to use
Possible complications
- Rusted or seized connections
- Odd plumbing layouts
- Fragile or expensive tile
- Older materials that require adaptation
How this connects with warning signs
If you’ve read our first blog on the five warning signs, you know what triggers this process. The replacement steps ensure you won’t face those issues again for many years.
If you’d rather skip the hassle, our team is ready to help with Expert Shower Valve Replacement in Studio City, CA. Reach out today via Contact Us.
Conclusion
A professional shower valve replacement involves diagnosis, careful removal, precise installation, and thorough testing. Knowing the process makes you a more informed homeowner. In our next blog, we’ll focus on how to choose the best valve for your bathroom—and how to make it last.